
Blender is often referenced in 3D Printing posts so I decided it was time to see how it fit into 3D Printing.
The first thing to note is that before you can accomplish anything in Blender you must become familiar with underlying concepts enough to understand what you are looking at.
Blender comes with a steep learning curve. I ended up spending two months applying myself full-time and I’ve only scratched the surface. The question then, “Is it worth the effort?“
Putting it all together
Blender is everything needed to create a high quality digital production, a tremendous number of tools in the same IDE. The tools work together which makes the interface context sensitive.
Add to that ever context seems to have multiple modes and Blender is the most complex GUI I’ve worked with, very impressive. I’ve designed systems for decades and Blender’s IDE implemented techniques new to me. All I can say is, WOW!
Avoiding Distraction
My only issue with Blender is not a criticism. Blender is dozens of tools wrapped together in the same IDE. It would be exciting to create a complex animated scene, or enhance a photograph with atmosphere and CGI generated objects; what Blender was designed for. Maybe someday…
Posing
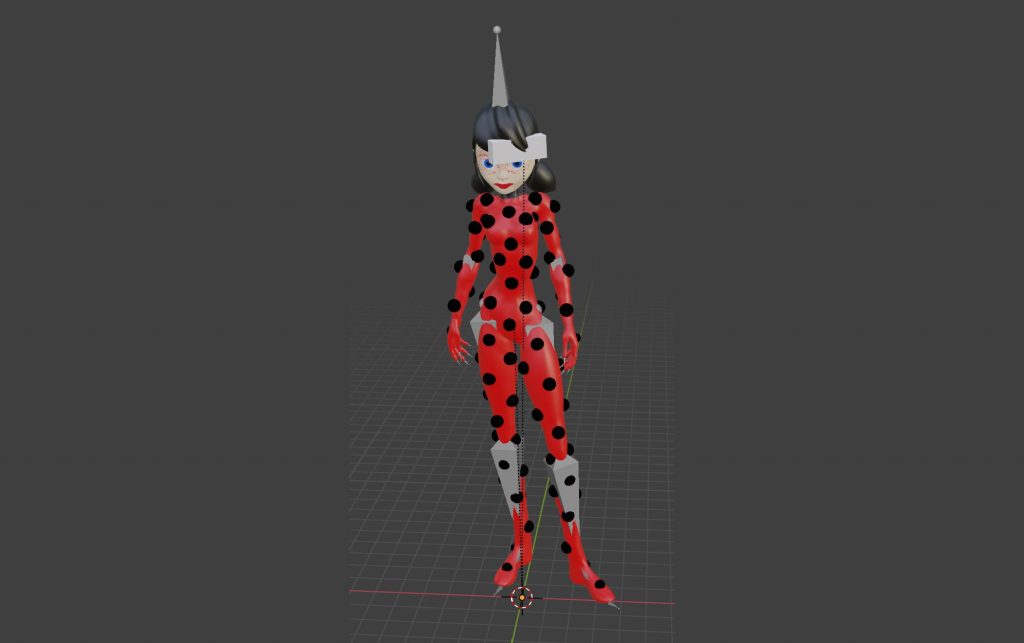
Armature (bones) caught my attention so I studied rigging and animations. Armatures manipulate meshes into new positions. After curling the tail on a small dog it was clear Blender had a place in 3D Printing.
‘Mixamo.com’ is an online resource where you can view actions and poses. You can even upload your model and rig it. It was fun watching Ladybug do the Samba. Posing is simply capturing a frame of the action and tweaking it as desired.
Armatures are incredible by themselves but combined with online resources they open up a world of possibilities.
Coloring
Posing a model worked out well so I decided to use Blenders mesh manipulation tools to break apart a model so I could assign different filaments (colors).
Blender has hundreds of mesh manipulation aids and I keep discovering much more efficient ways to accomplish the tasks. The beauty of Blender is you don’t have to know it all. I often muddled through a task many times before I discover there is a tool that makes ease of the task, usually something in the menus I hadn’t understood what it was for.
Print Preview
A quick way to see how a model prints is to load it into PrusaSlicer and use the Print Preview. When I looked at my first attempt at Ladybug parts were visible on the Build Plate but some of the parts were not visible in Print Preview. I came to recognize this is because you need to allow for two lines width if you are printing horizontally. I was basing my ‘depths’ on Resolution and had not occupied enough space.
Color Layers
3D printing is actually 2D printing with a Z axis. Print resolution is mostly layer height. On the X-Y plane lines are drawn which are always slightly larger than nozzle width because of squish. Lines are typically doubled with single lines considered ‘thin lines’. Printing with a 0.40 mm nozzle the line width is 0.43, which doubled is 0.86, so 0.90 is a good depth.
Creating the Parts
Bottom line, parts must have a 3D footprint based on a depth. If you know which way the print will be aligned you can design based on print resolution otherwise use a depth of one or more lines.
The ‘Solidify’ modifier in Blender helps in some cases with defining colors layers but there are many different techniques. This is a trial an error process using the Print Preview feature of PrusaSlicer to view how it will print.
While the entire design can be done in Blender for color layers I found using parts as ‘Modifiers’ in PrusaSlicer often worked better. Using modifiers printed cleaner and kept Blender more responsive by off-loading boolean-intersect operations.
Complete Success!
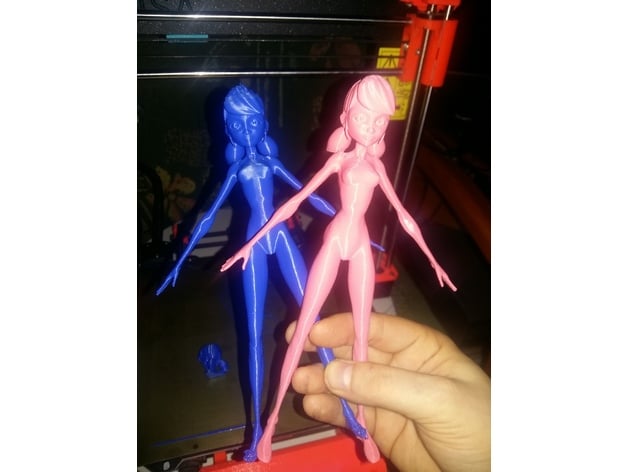
With Blender I was able to transform the mono-color alien looking T-Pose to Ladybug with full “Spots-on” standing on her own.
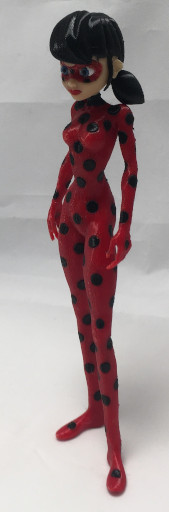
The print from this effort demonstrates that learning Blender is worth the effort.