
Here is a simple print and concept that should be in every MMU owners toolbox.
- Small
- Prints quickly
- Changes tools often
It is an ideal print for observing the MMU in action that has thousands of uses.
Search for a Test Print
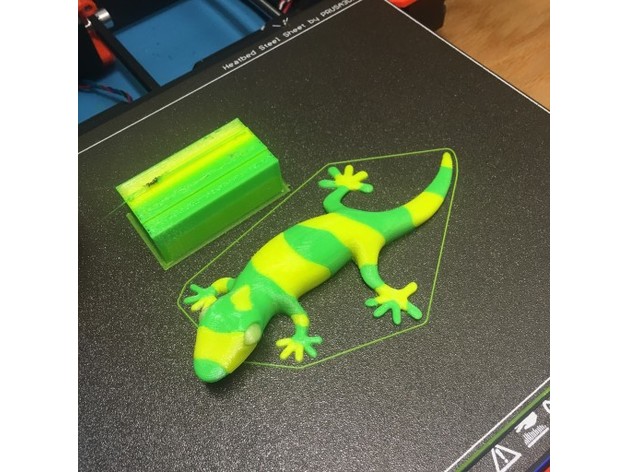
When the MMU2 arrived I was excited. It was unproven technology and a bit shaky but I stuck with it because Prusa was clearly committed to making it work.
When I first started working with the MMU I didn’t have multiple material CAD skills. It would have been nice to find something to print that made more sense than a lizard.
My First Print
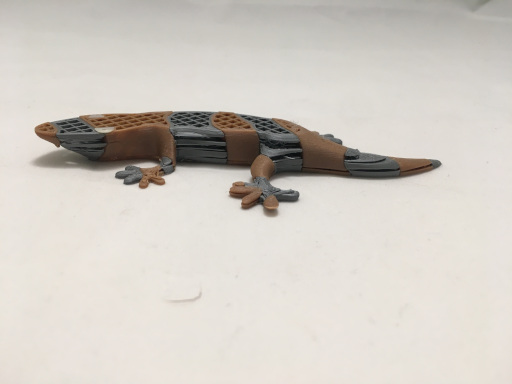
The printing between tool changes took so long I would get distracted and miss the tool change and how it failed. Instead of getting to see the MMU operate I spent a lot of time watching that lizard to print.
Catastrophic issues, like missing layers, were addressed with the MMU2S update. You can still expect occasional issues during tool changes that require user attention but they are recoverable. With the MMU2S I finally got that lizard to print successfully.
Perfect MMU Test Print
I determined the perfect MMU test print would:
- Be small so there isn’t a lot of printing
- Only change tools about a dozen times
- Allow for an identification stamp
Cutting Edge
Fast forward to current day; I now start jobs with the assumption they will complete successfully and it is only a question of how many times the print will pause and wait for attention. Printing PETG with ‘dribbling’ the average is about three issues in a 24 hour print with 200-300 tool changes.
Tokens
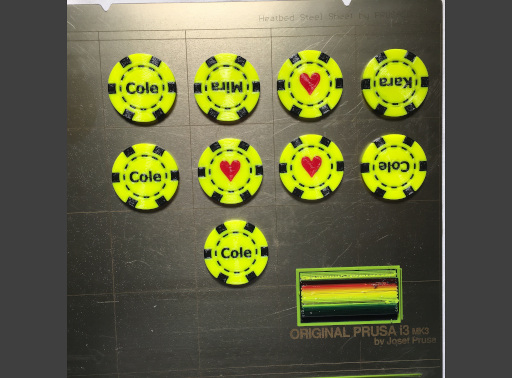
I was looking to create something for Valentines and decided on a token. I’ve done a lot with drink holders but wanted something smaller so I started with a poker chip.
It is easy to extrude a font character in the CAD software packages and I picked on a symbolic font with a heart. In the past I have used the CAD software to ‘carve’ out the space for the ‘engraving’. However, in colorizing and posing Miraculous Ladybug I realized the power of PrusaSlicer ‘Modifiers’.
PrusaSlicer Modifiers
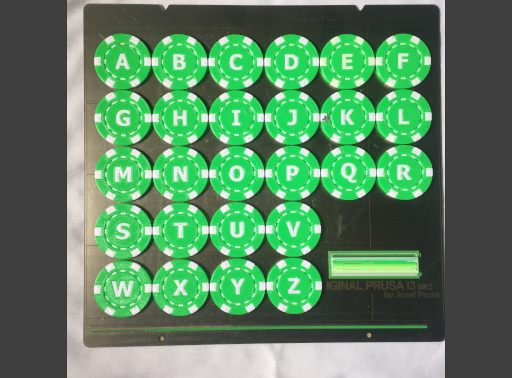
Prusa added ‘Modifiers’ to PrusaSlicer and they are great! I created a simple two color poker-chip and add the marker of my choice. I provided 0-9 and the heart markers in the posting but any .STL that can be sized to a silhouette may work.
A Light Bulb Moment
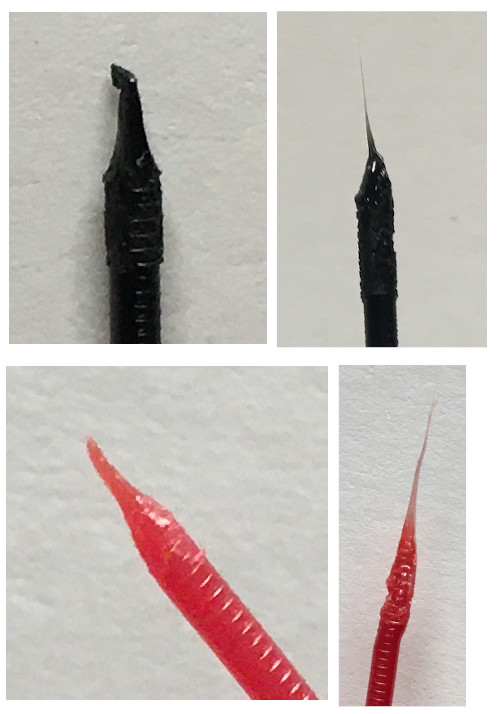
When I was looking at the poker-chip I thought about using it as a test chip so I setup the filaments to use extruders 1,3, and 5. This allows me to examine the filament tips after retractions.
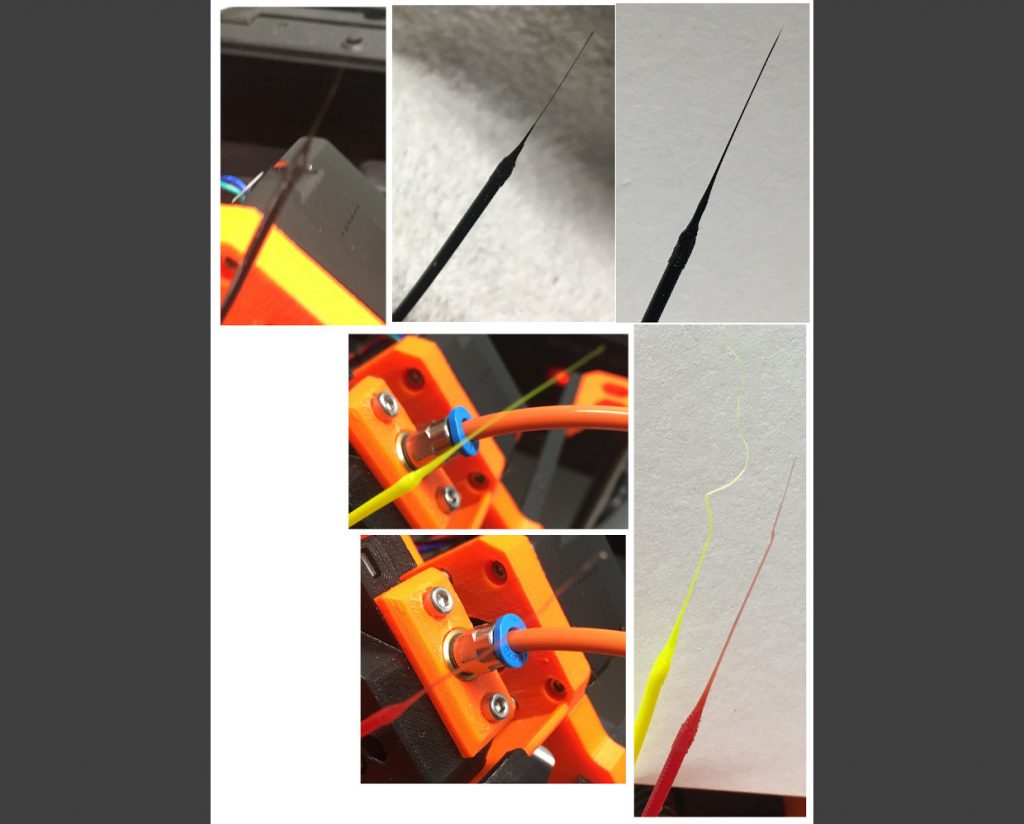
Running another print with ‘Dribbling’ I was able to see the difference easily. An excellent example of using the MMU Test Chip to compare how different settings change the tip after retraction. Long strings on the tips cause load and unload failures.
I had thought the chip would be a good exercise for the MMU but there it was right in front of me. I was looking at the “Perfect” MMU test print.
Summary
A token is something that can be saved as a momentum and is a fun print. I wish I had printed a token as my ‘first print’. It demonstrates the MMU capabilities and doesn’t take long to print.
Put the letters ‘TUIT’ on it and you have “a round tuit”. Tokens have a million uses.