I have found printing with flexible material, specifically TPU (which includes TPE), quite enjoyable. Most recently I used my experience to create sew-in nub for face masks.
A few years ago, when I first tried TPU, I had to spend time experimenting with speed settings and was pretty much on my own. Now PrusaSlicer profiles seem to work and there are several good articles on how to print with TPU. This post is about what to print with TPU.
Ear Savers
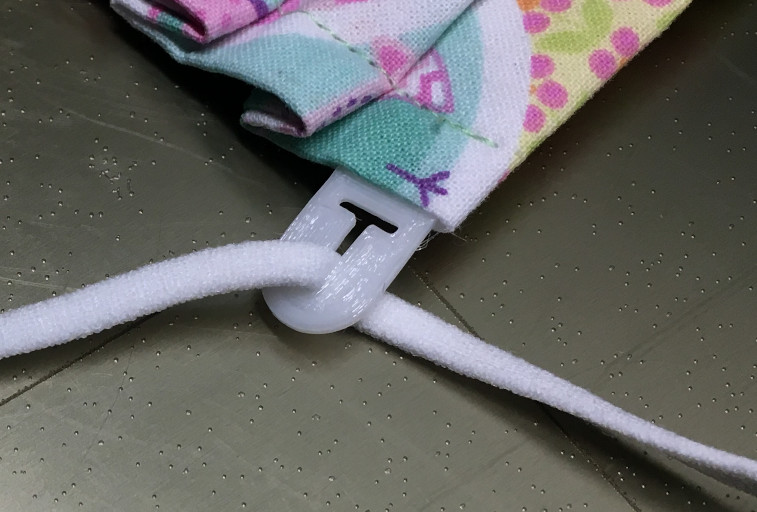
Printing ear savers for face masks I turned to TPU and was pleased with the result. You can twist and fold them and they snap right back. They are soft but have enough stiffness to hold the elastic well.
Sew-ins
My wife sewed masks for us and then decided to sew masks for friends and family. She made different sized masks based on the individual’s face and used similar ear loop sizes to the ones she made for us.
The masks were a big hit and everyone loved their masks… but it was common to hear the mask was not quite the right size. The issue of mask size is actually with ear loops. While an ear savers addresses loops that are too big an ear savers make a mask feel even smaller when the loops are not long enough. So there is ‘coverage’ size, and there is ‘loop’ size.
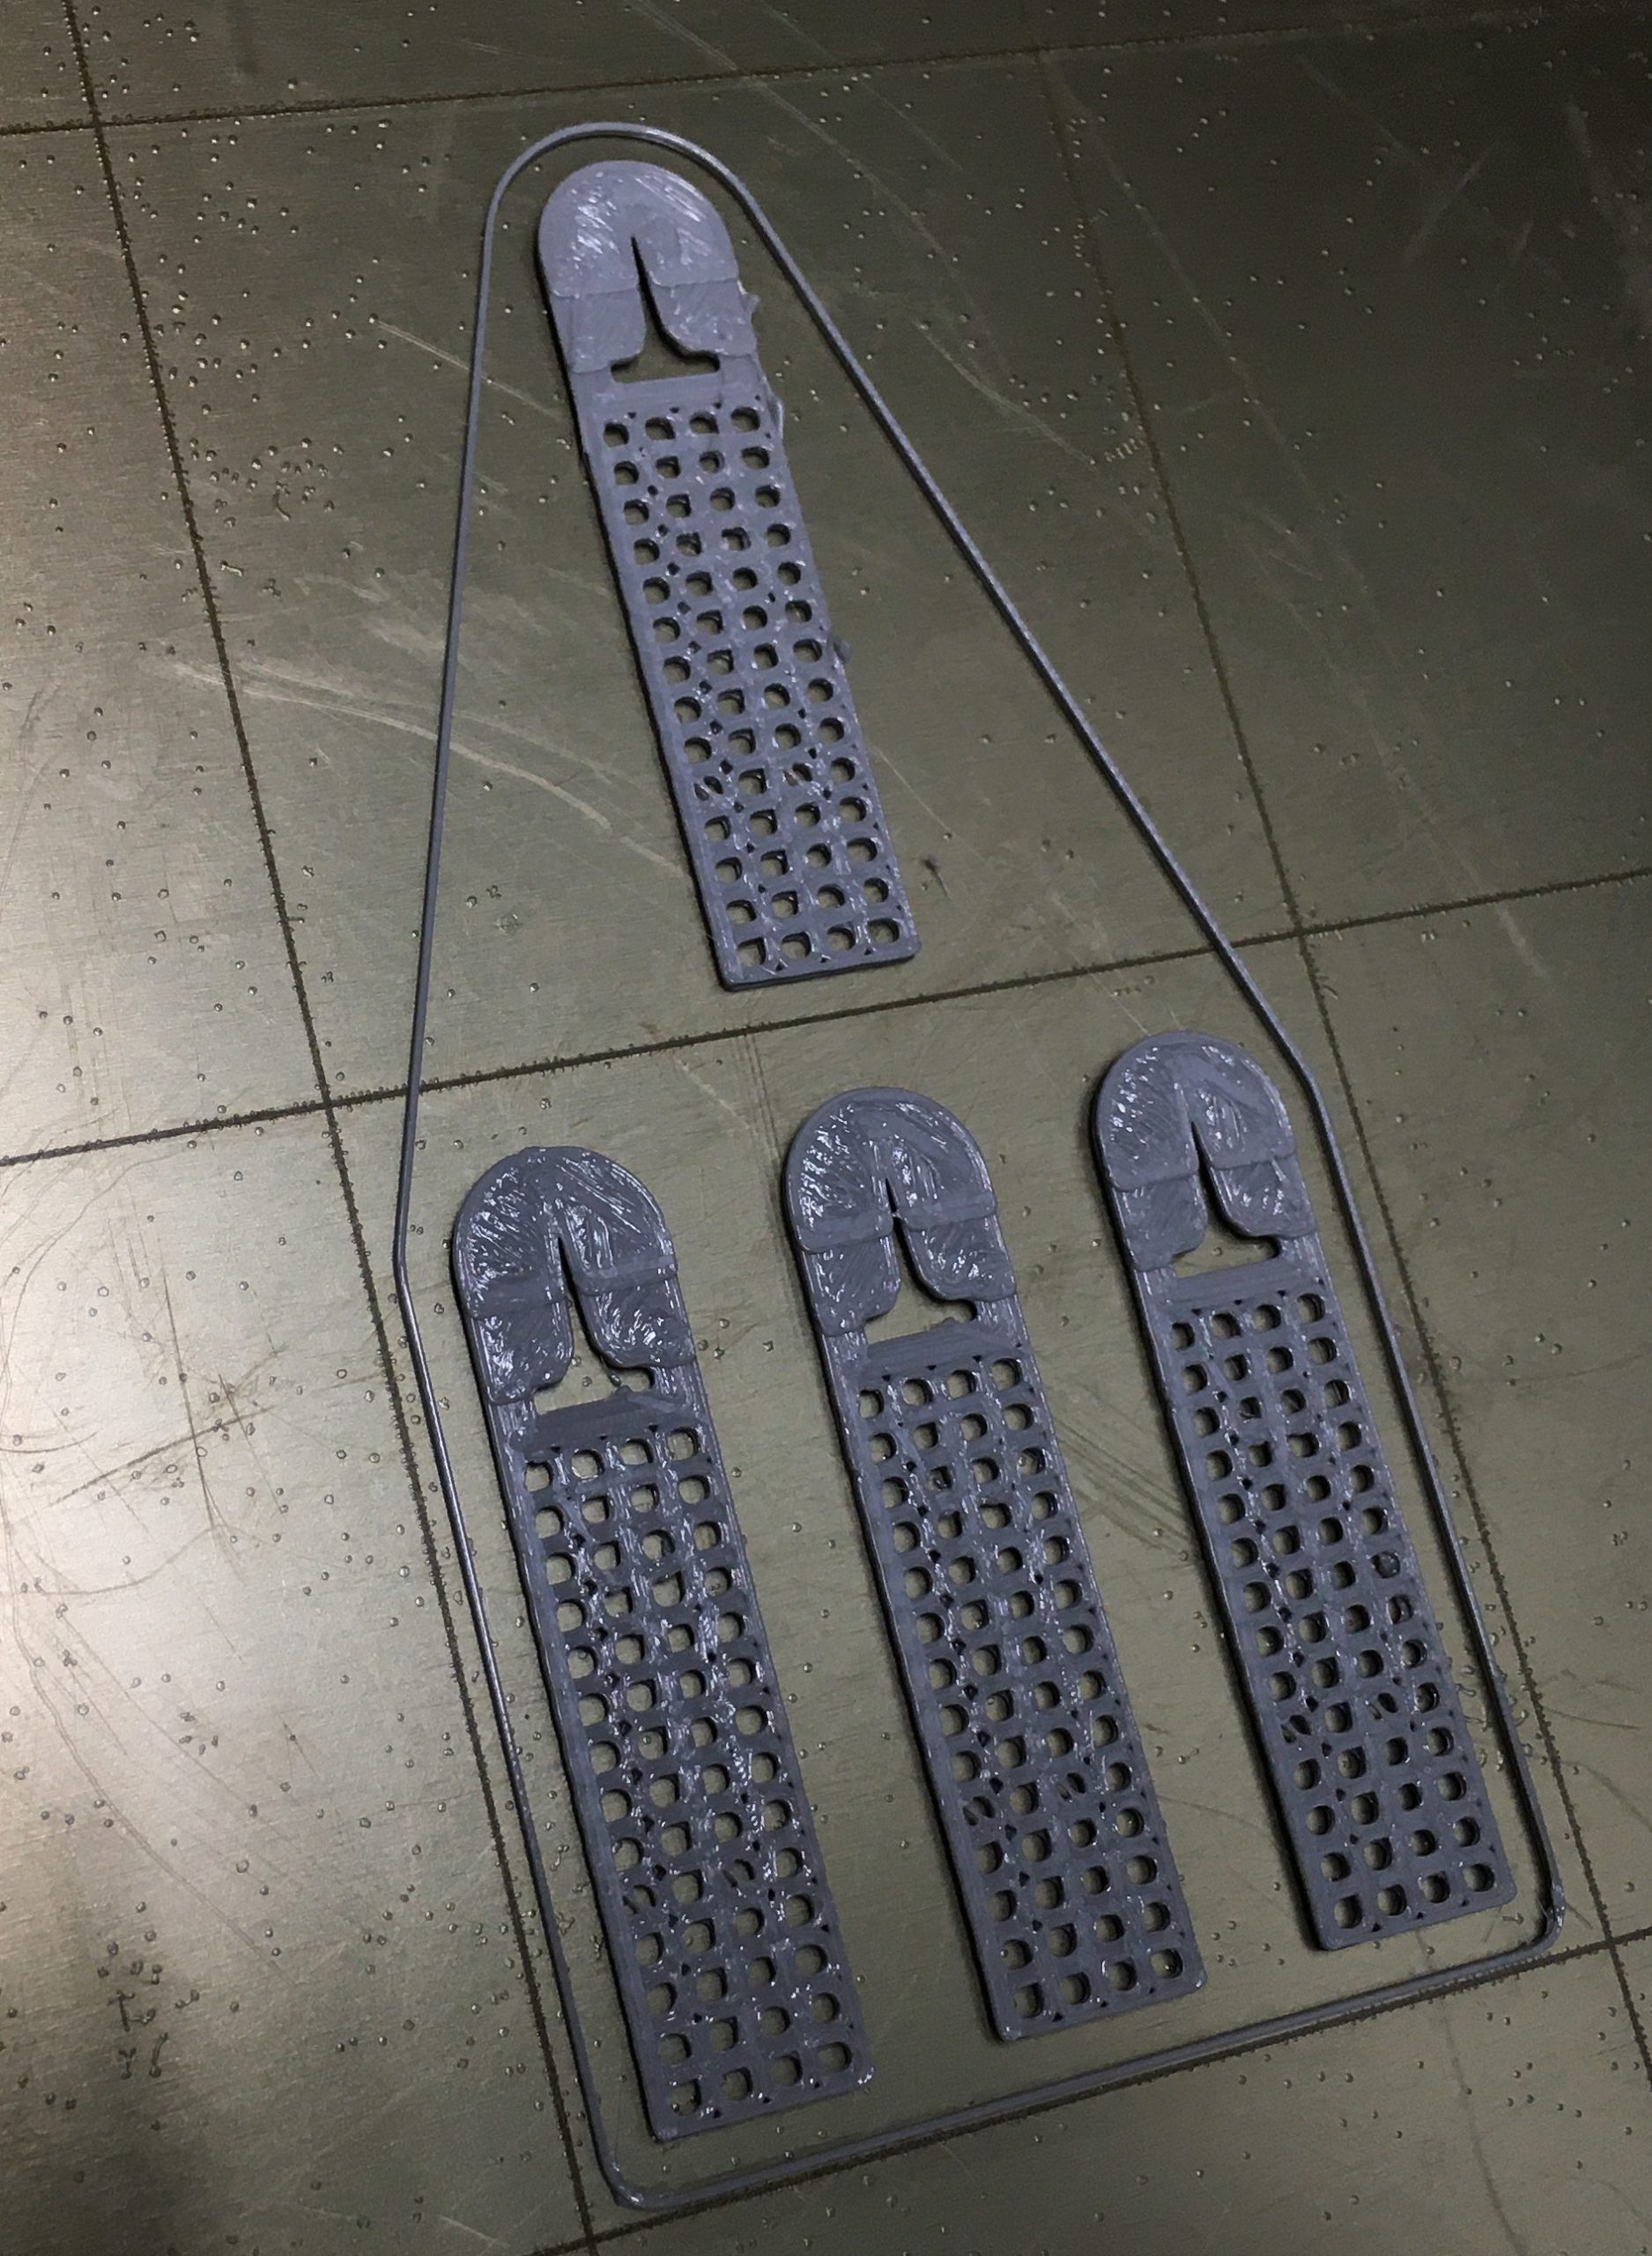
A simple ‘nub’ where that elastic could be attached was an obvious solution to me and with feedback from my wife on proper sizing I came up with V1.

Sew-in TPU
Working with TPU I have been surprised by how strong even thin strands are. Being flexible I thought maybe it could be sewn through.
I created a grid with small holes and it worked but the sewing machine groaned as it passed through. The small holes worked as I expected where there was no evidence of the needle having penetrated anywhere when I removed the stitches. However, I was looking for something that could be sewn in without notice and the groaning sewing machine concerned me. My wife also felt it may have dulled the needle.
Redesign – More Space
A 3D printed ‘line’ is actually two passes. A single pass line is referred to as a ‘thin’ line which may be skipped by the slicer. So with a 0.40 nozzle the line width is about 0.80mm. Since the stitch spacing was set to around 2.5mm I set the spacing to 1.20mm. The combined value is 2.0mm but the actual space may be larger because it is averaged to keep the grid uniform. The idea is to leave plenty of space for the needle pass by on either side of the grid lines.
The grid mesh now sews in as if it isn’t there, which is what I wanted. I can pull hard stretching the grid out of shape and it just snaps back and it takes a lot of force to actually break it.
I used 0.8 mm for height so the grid lines width and height match. For rigidity and re-enforcement I increased the height of the nub to 1.2 mm
Summary
Working with new materials we can pursue new avenues for our creativity. I have found flexible materials work for mounts where durability and a little flexibility can go a long ways.
