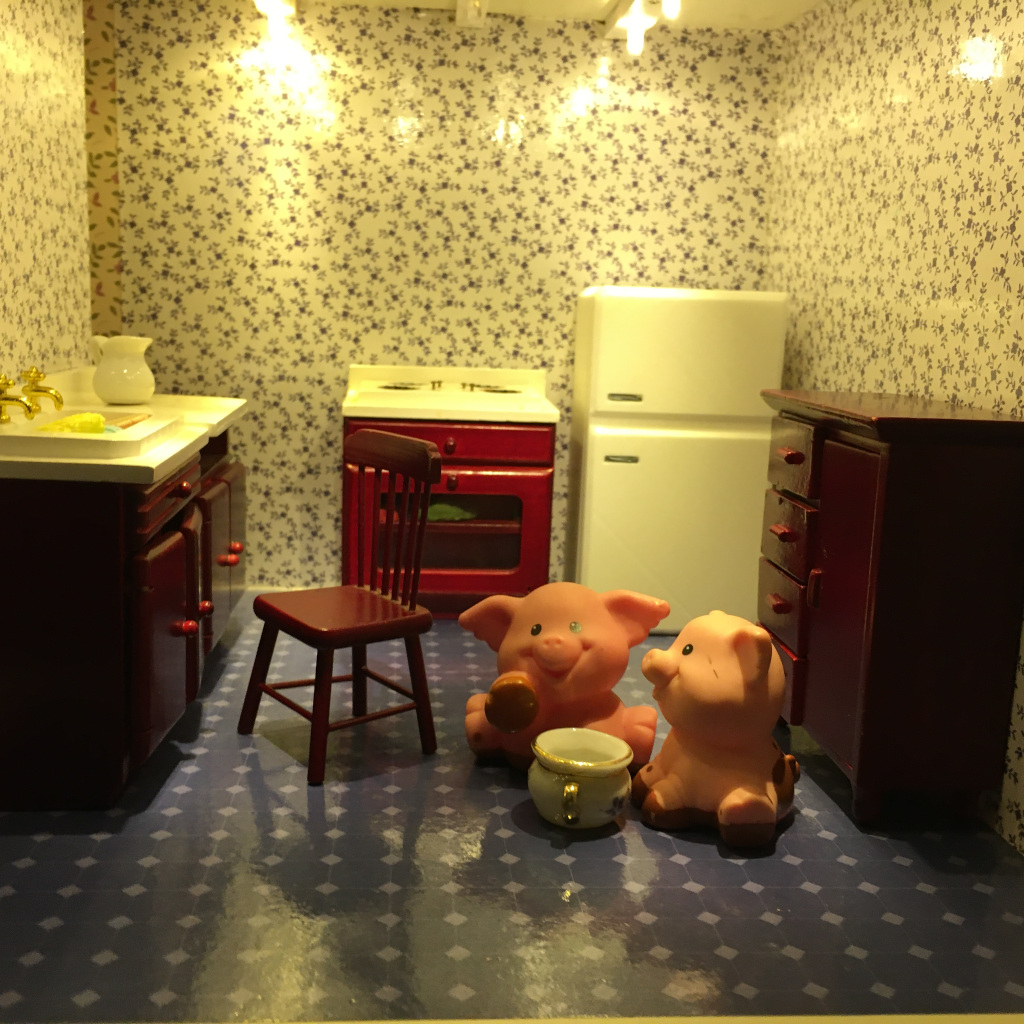
I created LED track lights for a doll house but they can be mounted anywhere, like the bookshelf under the dollhouse.
Proof of Concept
I had this simple idea that I could run a bare copper wire though a print for power. I discovered making a solid connection to the wire is not easy. After trying a few different approaches I came up with the slot-cap.
The slot-cap secured the connection by combining a large area for contact and a clamping action to keep the connection tight. I installed 84 LEDs in this dollhouse without a flicker.
Parts
Power requirement
I used 84 LEDs and based on 15ma per LED that is 84*15ma = 1.26A. That means I need at least a 1.25A 12VDC power adapter.
Photography
The lights really bring the scenes to life which can be easily captured with a cell phone. A modern way to play with a doll house; create scenes, take photographs and put it all together in a story.
FreeCAD
The tracks were created using FreeCAD and a custom Macro I wrote. I haven’t done a writeup on this design but have a post on using FreeCAD with Macros for information.
Assembly
- Using pliers with small movements push the bare wire into the channel until it comes out the far end. Put the clamps in place so the wire will follow the guide they create. If a wire sticks open caps to see if it is catching on the entry point.
- Clip wire and thread second channel
Plug it in
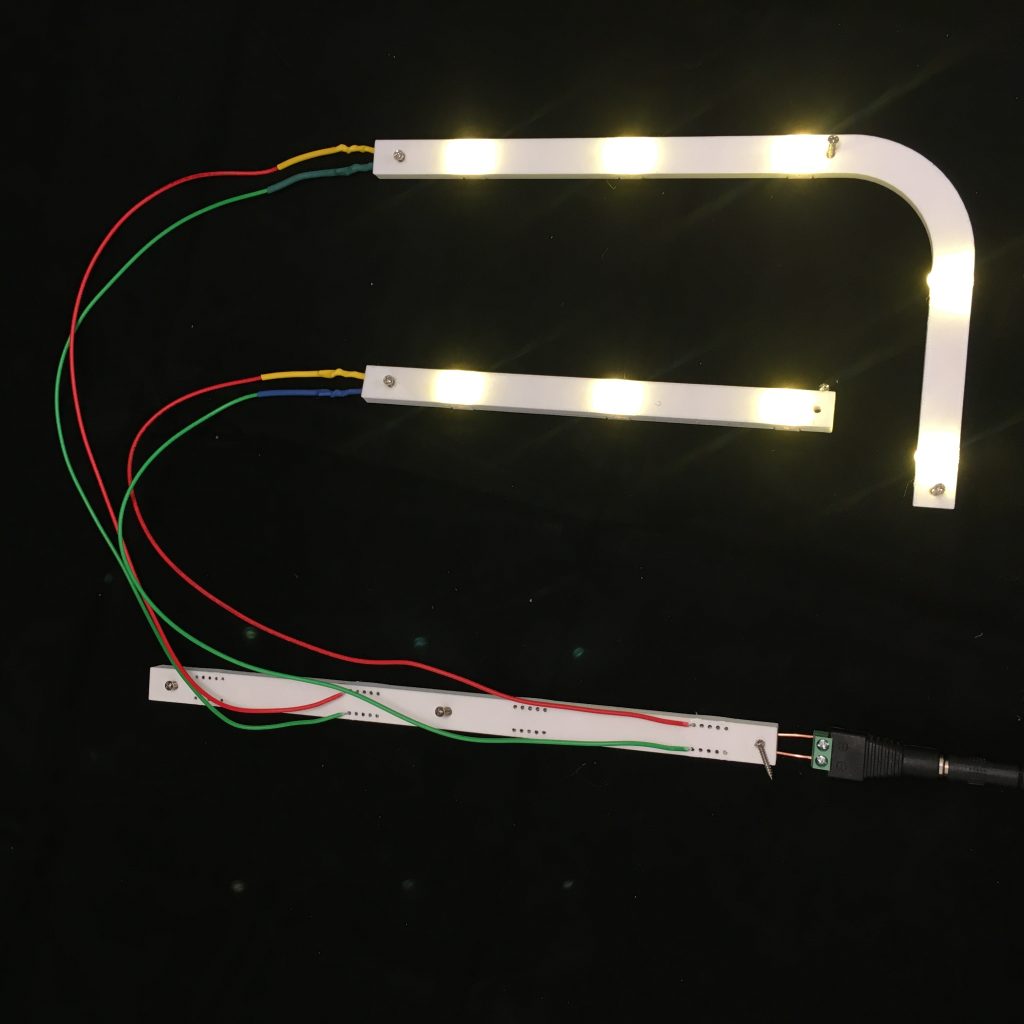
Connection is simply positive to the positive side, and negative to the negative side.
I wrap and solder 22 AWG Solid hookup wire to the solid copper tails and clip the tails just above wrap.
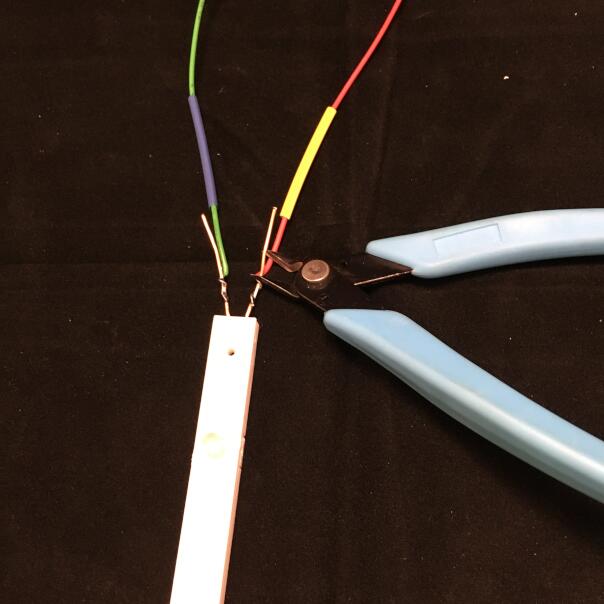
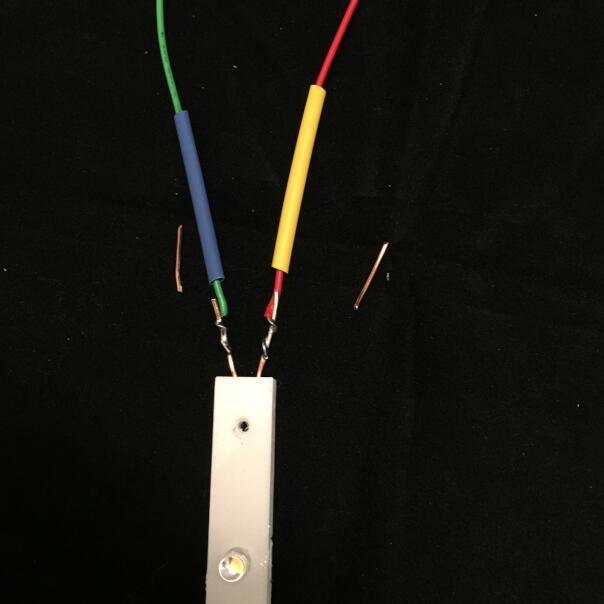
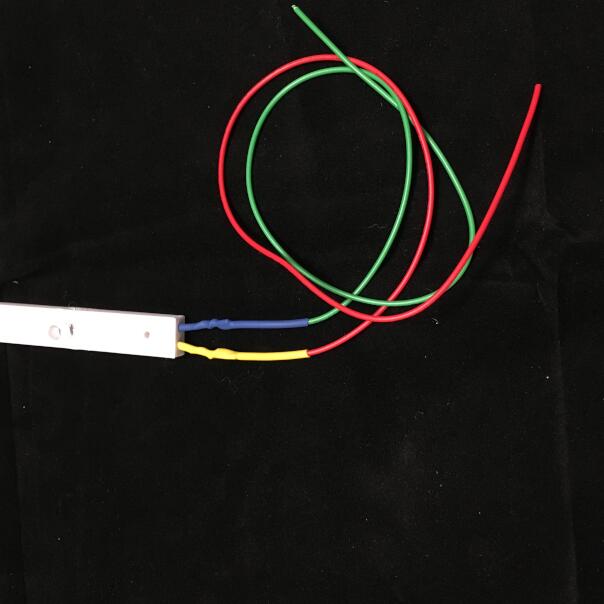
Slide the heat-shrink to the Track Light and shrink.
Next
An alternative to connecting wires with connectors or solder in the next post I will present the Power Track.
